Evergreen Shrubs for Privacy Screens / Living Fences
in the Northeast Florida
Jacksonville | St. Augustine area Landscape
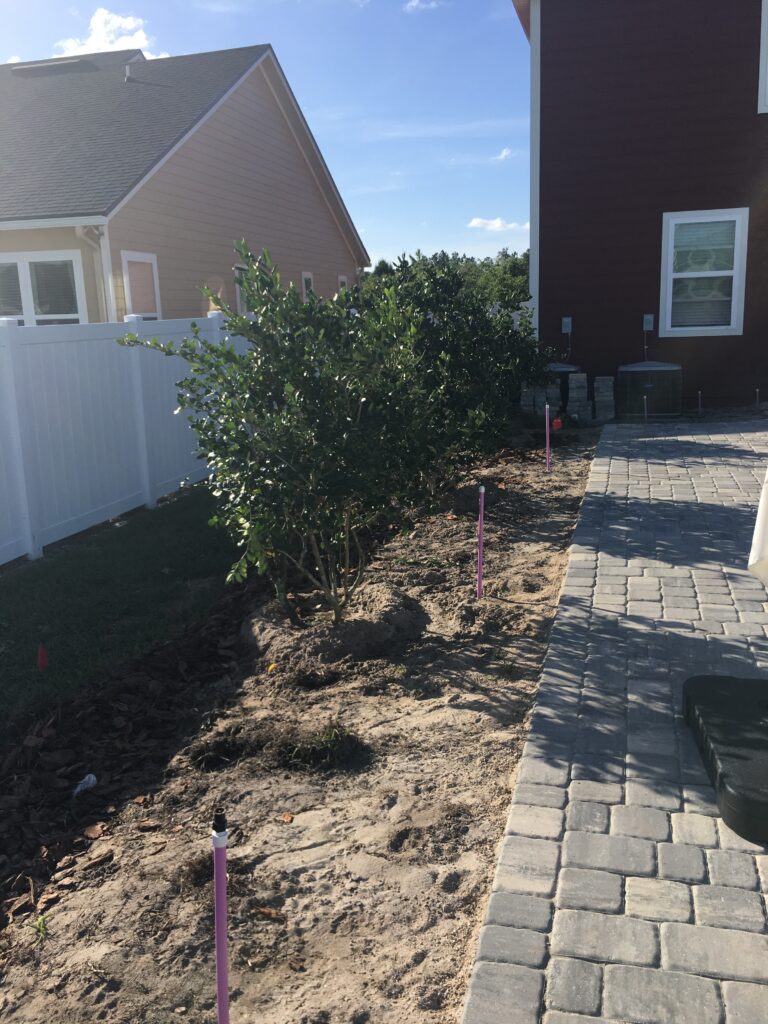
There is no denying that here in America we value our privacy, there is nothing worse than feeling like you are on display when in your own backyard. So we put up fences… ? I can’t tell you how many times I have gotten a phone call when a homeowner has just installed a privacy fence only to find out they don’t like looking at their privacy fence any better than they liked looking at the view they were trying to block. Even with today’s decorative fencing options, there’s just something bleak about the look of a fence standing all alone in a sea of grass that makes us want to plant something near it so it’s not so lonely out there! So we plant trees or palms and flowers and shrubs. We create Islands here and there of plants to soften the look of the sharp corners and long expanses of our wooden ‘neighbor shields’.
Why not avoid all of that hassle and plant a living fence to begin with? A lush green hedge that will let you get in and out of the pool in peace, block the view of that boat / shed / pool equipment / etc., all the while soothing your senses with fresh clean air, providing a noise buffer, and giving you the feel of a garden?
Choosing the right Privacy Hedge Screen Plant for You
There are several factors to consider outside of the regular sun, soil, and drainage issues that we look at when deciding what hedge will work the best to solve your particular problem.
How fast do you need coverage for your shrub privacy screen?
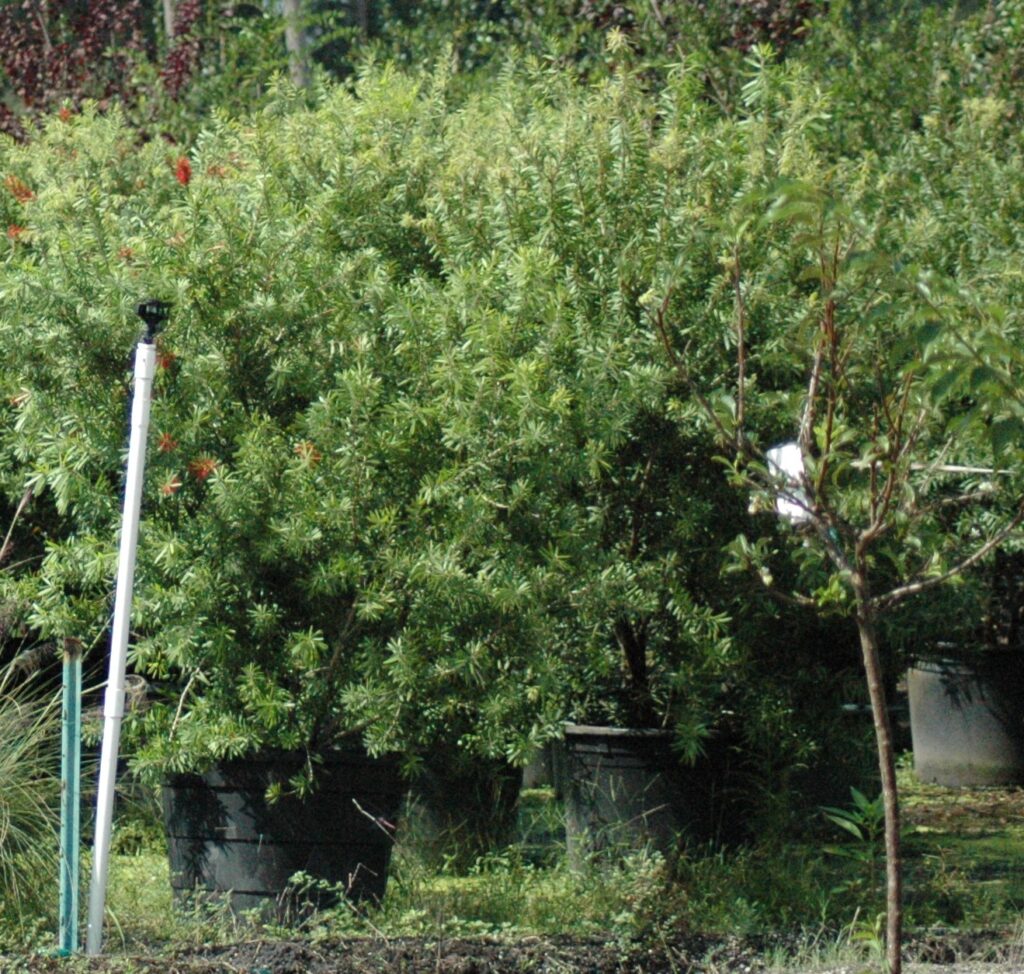
If you need privacy now, we have large shrubs and trees in stock that will meet those needs. Unlike smaller garden centers, here at S & J Nursery in Northeast Florida, we grow most of our own plant material and have access to the equipment that is needed to install large 10-14ft hedges for instant privacy screening. So whether your in the market for a 10ft high and 10ft wide patio Ligustrum tree to shade your backyard grill or you need a few a 12ft tall and 12 foot wide Viburnum or Podocarpus hedges to screen out the neighbors new home, we have what your looking for and we can install it faster than you think!
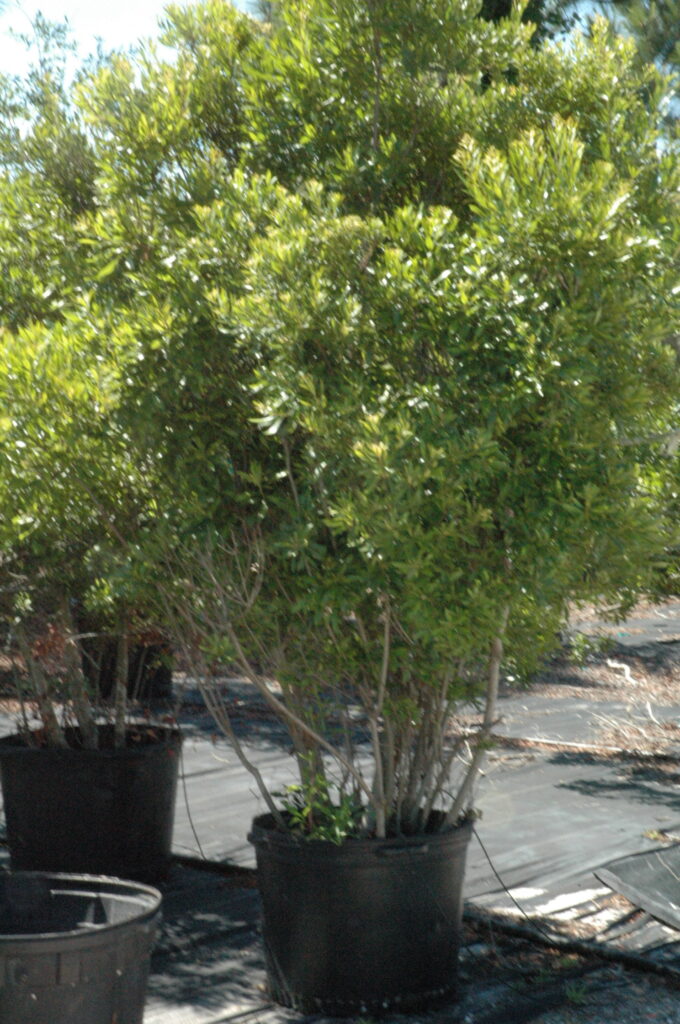
If you can spare some time but want something that will grow up to be large within a few years time, we have those too! Don’t be like most of us who dream of a nice big beautiful hedge but just cant seem to stomach the price for the ones we want, only to realize three years down the road we still haven’t put that hedge in and if we would have gone ahead and installed the smaller ones they would be HUGE by now! Since we grow our material, we have them available in lots of different container sizes and heights, for example… Most nurseries sell 3, 7, 15 and maybe 30 gallon Viburnum bushes, we grow and sell them in 1,3 , 7 , 15 , 30 , 45 , 65, and even 100 gallon pots!
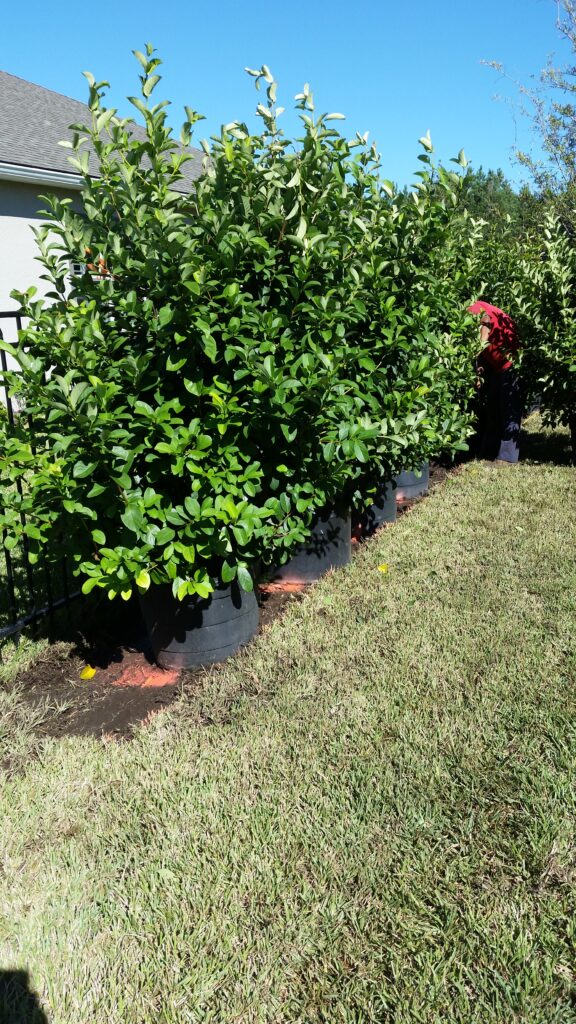
So not only do we carry little 10-12 inch tall one gallon pots for just a few dollars each, we sell great big plants that just one planted would get rid of the site of that boat this afternoon! No matter what your project size or budget, we have a plant and a price that’s just right for you’re privacy screen!
How tall do you want to keep your hedge privacy screen?
Some people will want to plant an evergreen tree like the beautiful Southern Red Cedar or Arizona Cypress that can reach as tall as 30-50ft in height and 15 or more feet wide and never needs trimmed. While others of us would prefer to keep a nice tidy hedge at about 8ft tall so that we can easily maintain a nicely manicured wall of green.
How much width do you have to let your hedge grow, does it need to be kept narrow?
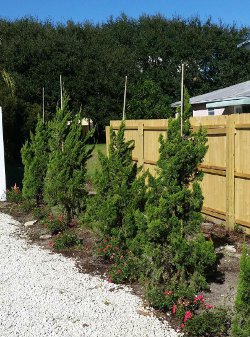
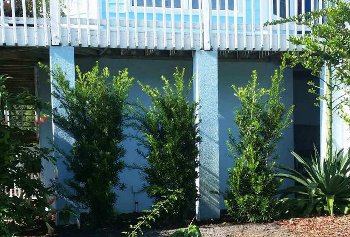
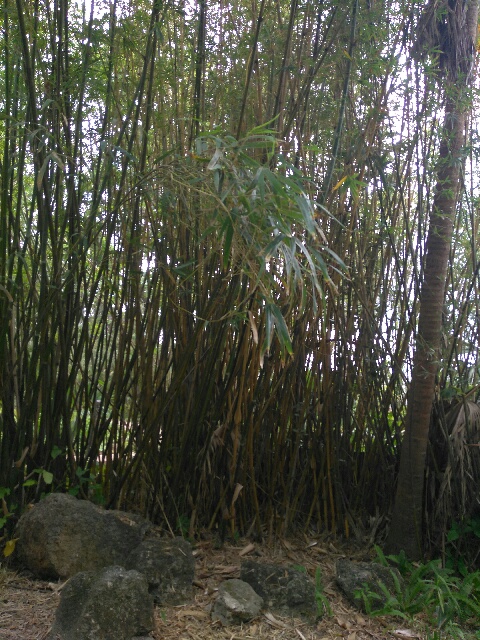
Width available is often the number one factor when determining what hedge you would like to use as a privacy barrier. But if you don’t have a lot of room sideways, you can still get a nice narrow hedge or tree that may take a little longer to grow but will stay within just a few feet wide. With lot sizes seemingly shrinking, more great options for narrow upright plantings are popping up in garden centers everywhere, there is a new upright cultivar of the famous bottlebrush tree called “slim” that is just perfect for narrow side yards and walkway areas. there’s new narrow columnar junipers with gorgeous deep green like the new ‘skyrocket’ or even silvery blue foliage like Juniper ‘Moonglow’, old school Italian cypress that grace the European countryside, Japanese yew, upright Yaupon Holly, or Sky pencil Holly just to name a few.
How Many Shrubs Will I Need for My Privacy Hedge Screen?
In most cases plant spacing is directly affected by the size of plant you choose to install. That is because most of the time, regardless of the size plant being installed we choose to install the hedge without leaving large gaps between the foliage of the plant for the plant to have to grow into to form a solid hedge. Although, plant spacing is a matter of personal preference, your hedge may not look much like a hedge if you opt to install a small plant on the maximum recommended spacing. However, with time even a one gallon plant planted on 10 ft spacing (from the center of one plant to the center of another) will grow into a solid hedge and could reach heights of 20 feet high and 10 feet wide if allowed to grow unchecked by yearly pruning.
The chart below shows how the height and width of the plant size at the time of purchase can influence the minimum recommended spacing distance. Viburnum odoratissimum / Sweet Viburnum was used as an example.
Viburnum
One Gallon
10 – 12 ” H x 6 – 8 ” W
Plant 2 -3ft apart
Viburnum
Three Gallon
18 – 24 ” H x 14-16″ W
Plant 3ft apart
Viburnum
Seven Gallon
2 – 3 ” H x 2 – 3 ‘ W
Plant 3-4ft apart
Viburnum
15 Gallon
3.5 – 5 ‘ H x 3.5 – 4’ W
Plant 4-5ft apart
Viburnum
30-Gallon
4.5 ‘- 6′ H x 4 – 5’ W
Plant 5-6-7-8ft apart
Viburnum
45 Gallon
6 – 8ft H x 6 – 8ft W
Plant 8-10ft apart
Viburnum
65-100 Gallon
8-12ft H x 8-12 W
Plant 8-10ft apart
Step By Step Installation of
Your Privacy Screen / Living Fence Hedge Row
Check for underground utilities
Call 811 before you dig when installing large plants and trees, or large areas of lawn you will need to call your utility company and have them come and mark out the lines to make sure they don’t interfere with your project.
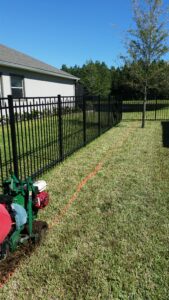
For sprinkler systems, turn a test on for the zone in the area where you will be planting and flag those lawn sprinklers in the area you will be planting to remind yourself of where they are. Sometimes when doing a privacy fence your lawn sprinklers will need to be moved forward in front of the planted shrub line so they are not blocked by the newly planted shrubs and can continue to effectively water your lawn.
Prepare the Area… Sod Removal
You have two options for removing the existing sod in the area you will be planting your privacy hedge. You can dig and remove the grass by hand or with a sod cutter. This may be the best option if you need to have your project completed from start to finish within a short time frame. Sod cutters can be rented from your local tool rental shop and used to quickly cut out the sod from an area in neat edged strips that are easily lifted and disposed of. If your doing a small area, or have some helpers you can also remove the sod by hand with a sharp edged shovel by cutting an inch or so down from the surface in a sideways motion.
If you have some time to wait, by far the easiest option is to mark out the area and spray it with a complete herbicide that will kill the grass in the sprayed area. If you have plenty of time to spare for your project you can opt to use a bit more environmentally friendly approach and cover the area with biodegradable cardboard or reusable plastic painters tarps and wait for it to brown out, depending on the time of year it may take 2-3 weeks or 2-3 months .
Once the grass has died, it can be easily raked up and the area will be ready to install your new privacy hedge screen!
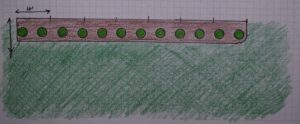
Spacing your shrubs
Sample Layout of Larger Viburnum 15-30 gallon plants installed with 6ft center of one plant top the center of another spacing layout for 70ft long spaceSample Layout on Medium Size Viburnums (7 Gallons) being installed for 70ft lengths showing both 4ft center to center spacing and 5ft center to center spacing Sample layout for smaller 3 gallon size Viburnums put into a 7o linear feet space using both 2ft center to center spacing and 3ft center to center spacing
Do a sample spacing before digging holes for all of your hedges to make sure the final result will be pleasing to you. You may decide to space your plants closer or farther away from each other once you see them in place.
So before you begin digging holes, set your privacy hedge plants out into the area to be planted and step back to take a look.
Installing Your Shrubs
Planting Hole Depth…
Dig your hole just slightly shallower than the depth of the root ball on the shrub your are installing and no deeper. Once your plants are installed into the hole you will need to have 1-2 inches of the root ball above the existing grade on smaller plants and 2-3 inches above the existing grade on larger 15-100 gallon size plants. This will unsure that as the plant and soil settle into the hole, your root system is level or just slightly higher than the level of the surrounding soil. If your plant is lower than the surrounding soil, the root system will overtime become buried with soil and your plant will fail to grow and thrive and can die quickly during our rain period when the soil is saturated with water.
Planting Hole width….
Dig your hole only at about 6 inches wider than the size of the root ball going into the hole.
Amending the soil….
If you have inadequate soil ( really sandy light colored soil or heavy clay) in the area your privacy hedge shrubs will be planted, you can amending the soil by mixing 1 part compost to 3 parts native soil and backfill with that mixed soil into this extra 6 inch space around the root ball of your shrubs during the time of planting.
Remove your plants from their container and rough up the outside of the root ball. This can be done by making three vertical slits evenly spaced along the outside of the root ball that go from the bottom to the top and cut into the root about an inch deep. Or you may opt to take your hand or shovel and break up the outside of the root. there’s no need to be gentle here, the more you disturb the outside of the root the quicker and easier it will be for your plant to get growing into the surrounding soil after planting.
Place your plant into the prepared hole making sure that the root system of the shrub is slightly higher than the elevation of the surrounding soil. Then replace the soil around the plant with the soil you took out of the hole or the soil amendment mix if you have problematic soil. Be sure to remove all air pockets that can develop by tamping or stepping on the soil to compact it down as you fill the sides of your hole with soil.
When planting larger 15-100 gallon material if may be advisable to use a water hose to settle the soil as you fill the sides to ensure that there are no pockets of air around the root of the newly planted shrub. Simply fill the sides a third of the way and water it in then continue filling and watering until you have reached the surface.
Once you have backfilled around the edge of your shrub, use the remaining soil to build a small berm or well around the outside of the root ball to hold the water. Do not build the berm on top of the root but on the outside of the plants root system. Remember to rake the berm away from the root and into the grass area, or remove it with a shovel once your shrub hedge is rooted in and growing. Leaving the berm in place long term can cause it to wash over the top of the new root system burying it in soil.
Watering Your New Privacy Screen Hedges
Daily, or every time the top inch of the soil is dry to the touch for the first 2-3 weeks to 2-3 months depending on the size plant you have chosen, smaller plants will root in much quicker than larger ones. Begin to taper back your watering when your shrubs show signs of new foliage growth they had rooted into the surrounding soil and may only need water once to twice a week depending on the type of shrub and it’s location.
Fertilizing Your new Privacy Screen Hedges
Use only slow release non burning fertilizers like Milorganite, Green Edge or Osmocote on newly planted items. Water soluble granules and liquid fertilizers can burn the new roots your plant is forming and do more harm than good for new plantings. You may opt to fertilize as much as once every few months when trying to get your hedge growing, but once your hedge reaches the height you need it to be don’t forget to give it at least a once a year in the spring dose of a good quality all purpose fertilizer. I like to mix Osmocote and Milorganite together and place 1/2 to 2 cups per plant (depending on the size of the plant) around the base of the plant underneath the foliage.
Mulch
Mulch can be applied immediately following planting, it will help the soil retain the moisture you will be adding as well as break down into compost over time, a great food supply source to keep your plant happy and healthy.
Maintenance
Remember to prune your shrub during spring or summer to shape as needed. Be sure when pruning to shear the top of the plant slightly more narrow than the base instead of making it even all the way down. Pruning your shrub hedges with a slight taper towards the top will help keep them full to the ground instead of loosing foliage from lack of sunlight on the lower foliage.
Too complicated? Dont fret just give us a call and we can send someone out that will be able to help you pick the best plant to suit your garden sites soil and sun situation as well as your personal needs and preferences. Let our three decades of experience work for you!
Don’t want to do it yourself? NO SWEAT! Need A FREE ESTIMATE on your new landscape privacy screen shrubs / trees? WE’VE GOT YOU COVERED! Call us today at 904-554-3811 and we can come out and take a look at exactly what you want done and let you know what will work best for you and get you an estimate on your plants PICKED UP or DELIVERED or INSTALLED!
What Kind of Plant Should I use for Privacy Here in my Northeast Florida Landscape?
Click on these links below to see all of the choices available and be able to see detailed information about each of those options with just another click to the plant page!


 Prepare the Area… Sod Removal